Showing posts with label Technique Tuesday. Show all posts

Tuesday, 26 February 2013

Technique Tuesday - Shabby Chic embossed acetate

Hi crafty friends,

All the Technique Tuesday's this month were all about 'Embossing'. So the final technique for February is a something I call 'Shabby Chic embossed acetate'.


1. Cut a piece of acetate to the desired size


2. Emboss using a embossing folder


3. Take a brush and some white acrylic paint...


...squeeze a blob on the de-bossed side of the acetate...


...and brush, so the back of the acetate is cover with a thing layer of the paint


4. Take some tissue and..


...wipe gently, so the paint is only left in the embossed areas. You can clean the areas that are not embossed more carefully, but as I was going for a shabby chic look I left them


And here is how I used it (sorry it's not a good picture)


Tuesday, 19 February 2013

Technique Tuesday - Partcial Embossing

Hiya Crafty Friends,


This techniques is very effective, but also very easy to do

Technique: Version 1
  1. First cut two pieces of card (this can be a cereal box, rather than using your good card) the same size of the card you want to use emboss


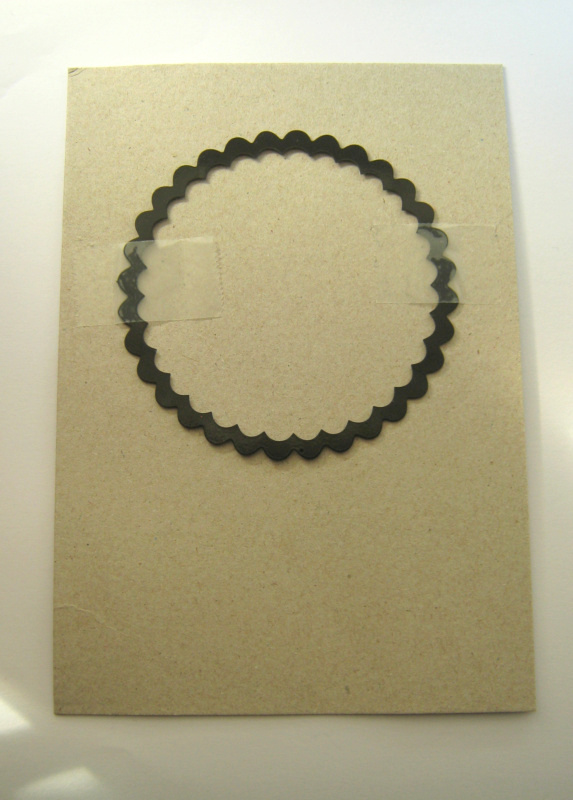
2. Cut your aperture  I have used a scallop die for this tutorial, but it can be any shape you like. Repeat again with the second card (try to line up the apertures). Set aside the circles that have been cut out for later.


3. Stick the matching layers together


4. Place the card you wish to emboss in the embossing folder


5. Then place your aperture card over the top, lining it up with the card inside the embossing folder. Place the second cutting mat on top and run through your machine


6. As you can see, this process has left a black space in the embossing


7. To finish off, line the die you used to cut the aperture card with the blank space and secure with low tack tape...


...turn card over...


...place your rubber/silicone mat on top, then the second cutting mat and run through your machine


8. Remove the die and the blank space is now framed


Technique: Version 2

1. Place the card you wish to emboss into the embossing folder. And place onto the first cutting mat


2. Place the shape you from the aperture on top and secure with tape, then place the second cutting mat on top and run through your machine.


3. Only that area will now have been embossed


4. Place the matching dies around the embossed are and secure with low tack tape


5. Use the same procedure used to create a frame on the first card.


Tuesday, 12 February 2013

Technique Tueday - Homemade Embossing folders

Hiya Crafty friends,

This weeks technique is how to make your own embossing folders. I have made a simply design for this tutorial, but that's the beauty of making your own. The design can be just the way you want it. You use cutting dies, as I have done. Or even hand-cut your own designs.
You can also make them what ever size you need to match you card size.

1.Cut a piece of card the size you need. I have cut mine to match the C6 card I will be using for this tutorial 


2. I will be using hearts for folder, so I dies quite a few from some card


3. Using a paint brush, coat the top of the cad with PVA glue (you can individually adhere the element to the card, but I found coating the whole card helps stiffen it when it is dry)


4. Stick the design elements to the card, over-hanging some over the edge of the card


5. Cut the excess away


6. I helped the drying process along by using my hairdryer (it's not quite as harsh as your heat gun). I also found that it helped to flatten it too.


 7. Using the same procedure, with your die cutting machine, as you would with a normal embossing folder. Place the 'embossing folder' on the first cutting mat first, then your card...


 8. ...then your rubber/silicone mat...


9. ...then second your cutting mat and run through you machine


10. And hey presto!


The possibilities are endless!!


Tuesday, 5 February 2013

Technique Tuesday - Embossing folder colouring


Colouring Embossing Technique


Cut a square of white card (11.5cm x 11.5cm)

 Place in embossing folder (I have used Couture Creations C0723153)and run through your die cutting machine


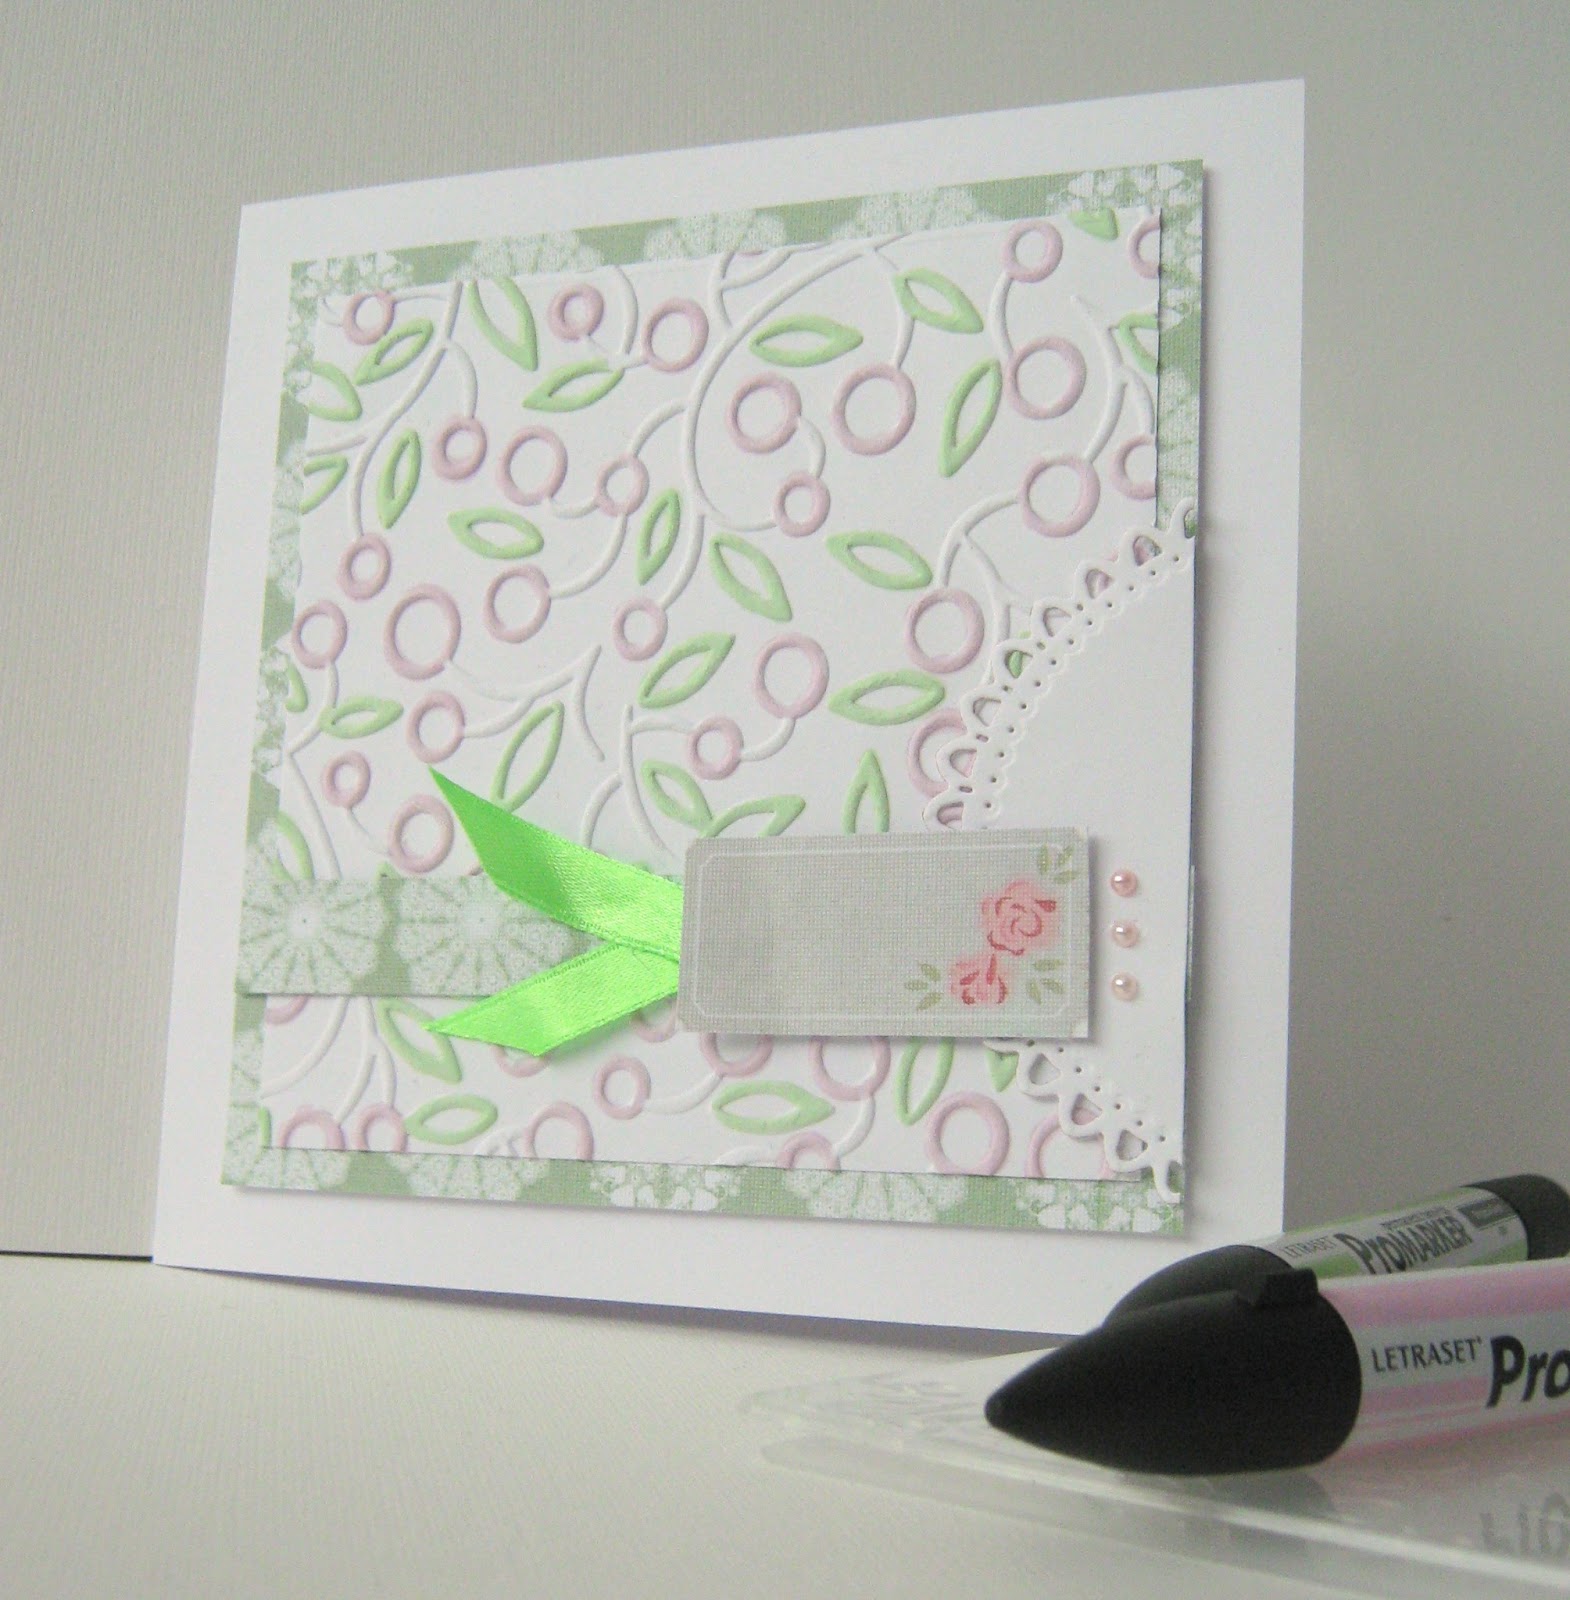
Take a light green Promarker (I have use Meadow Green) and colour the leaves

Using a light pink Promarker (I have used Blossom) and colour the ‘flowers.

And the finished peice will look like this


Take  peice of co-ordinating paper/card (I have used Docrafts Vintage Notes) and cut 12.5cm x12.5cm
 Cut a strip or the co-ordinating paper 1.5cm x 12.cm and stick to the lower section of your embossed design
Using an off cut of the white card from the beginning, use a decrotive oval/circle die and cut a semi circle (I have used the smallest die in the Spellbinder Grand Nestabilities Decorative Ovals set. Then adhere the right end of the strip
 Use foam pads to add a sentiment of your choice, the decorate as desired.
 When decorated, stick to a 6x6 card, using foam pads

And here is the card I made with mine :)