Showing posts with label Stampin' Up. Show all posts

Thursday, 5 April 2012

My love affair with my Stampin' Up goodies - Part 2...

Hiya Crafty friends,

Well  I finally had a chance to play with my new Stampin' Up Goodies...yay!!! And as Easter is just around the corner I though I'd make some Easter themed goodies for some of my family.

After seeing our lovely demonstrator, Shirley, use one, one of the things I was lucky to get with my hostess pounds was the Petal Cone Die...don't you just love surprise freebies :)

I have just made the 'as it comes' cone, but I have just been looking at Pinterest and there is some great ideas of other things you can do with it. I am so glad I got it now :)

The first two 'cones' are for my Gran and Great Auntie, and I'm going to fill them with sugar-free goodies.


Supplies:
Stampin' Up Petal Cone Die
Stampin' Up Dotted Scallop Ribbon Punch
Embossing folder
Xcut Scallop Circle Punch - small and medium
Oval punch
Blue and cream card
Foam pads
Clear buttons
Gems


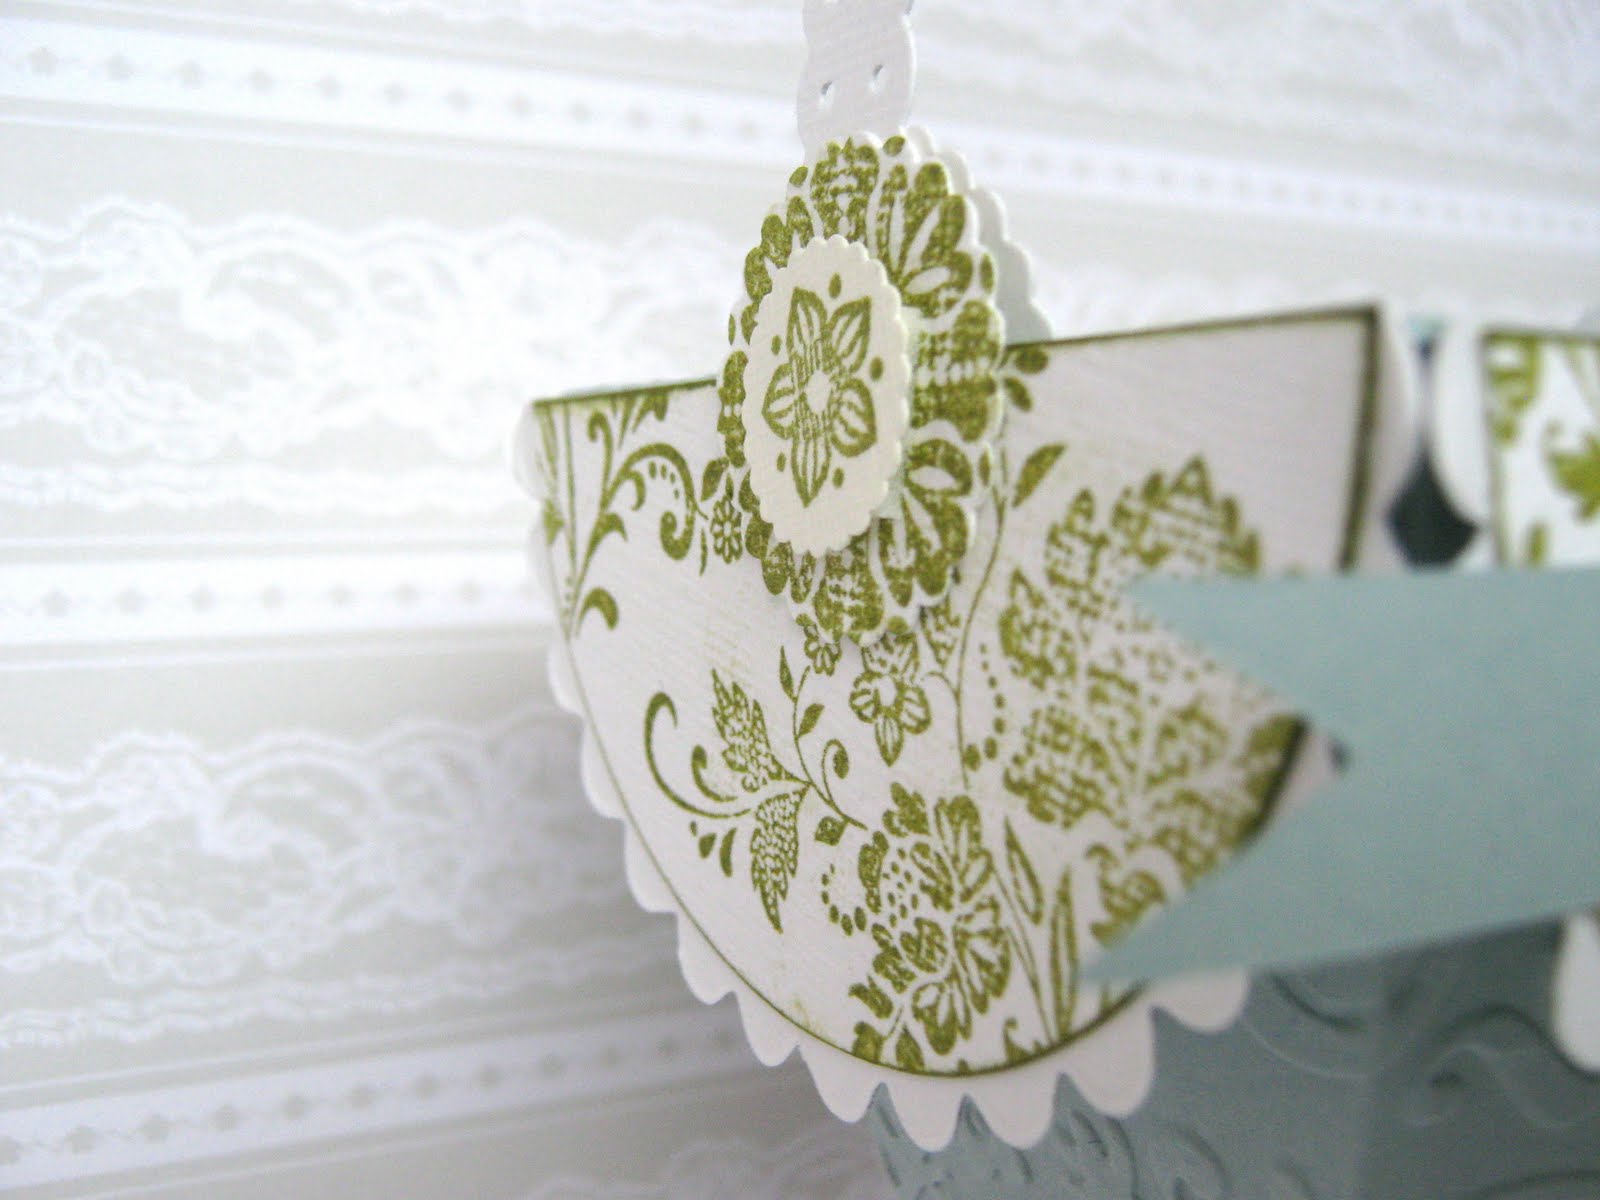


Supplies:
Stampin' Up Petal Cone Die
Stampin' Up Dotted Scallop Ribbon Punch
Stampin' Up Freash Vintage Stamp set (free Sale-a-bration set)
Stampin' Up Old Olive Ink
Xcut Scallop Circle Punch - small and medium
Oval punch
Blue and cream card
Foam pads
Gems


The next thing I made was an idea I got from YouTube, and just had to make them as they are soooo cute. They are for my nephews (I know one of them is a 'bit too old' for a carrot...lol... but ah well, I think he will be a bit more interested in the chocolate inside anyway...lol...and it gave m an excuse to make a couple)


Supplies:
Stampin' Up Petal Cone Die


Oval punch
Stampin' Up Old Olive Ink
Dotted embossing folder
Orange and green card

Happy crafting and inky fingers
Click here for more graphics and gifs!xx

Wednesday, 30 November 2011

Stampin' Up workshop - Holly Berry Bouquet kit

Hi Crafty Friends,


Well, here's news on my Thursday workshop. Which was a Stampin' Up Holly Berry Bouquet kit session. There was lots of goodies in this kit to play with, which consisted of:

  • 12 sheets of 6x6 Holly Berry Bouquet Speciality designer series paper 
  • 6 A6 Chocolate Chip card blanks 
  • 6 A6 Cherry Cobbler card blanks 
  • 12 C6 envelopes 
  • 2 A4 sheets of Very Vanilla card stock 
  • 1 A4 sheet of Chocolate Chip card stock 
  • 1 A4 sheet of Cherry Cobbler card stock 
  • 1 A4 sheet of Wild Wasabi card stock 
  • 3 different types of co-ordinating ribbon 
  • co-ordinating brads 
  • 100 Stampin' Dimensionals 
  • OPTIONAL Pines & Poinsettias stamp set (Which I did treat myself to, as I fell in love with it)
Papers

Stamps

I was quite nervous going to this one, as I knew there was going to be a few people there that I didn't know (bloody Social Phobia! Never makes anything easy). So I prepared myself, held my breath and went (with the help of my fantastic mum, who comes along with me). I was apprehensive, but the ladies there where lovely! And so funny too :) I was taken a back a bit when I realised that it wasn't a tutor led session, as this was the first time I had done one of these.  We had some examples, but it basically what ever you wanted to do and have use of all the tools etc. Well, this is a Social Phobics worst nightmare... making something  from your own head, in front of people (I don't know) and them watching...eeeeeek! I was stumped :/ But them decided I will have a go at some of the examples, so I set off. I did copy the example Shirley had done, but decided to change them slightly so they weren't complete copies.

I don't think they are the best cards I've ever made, but with everything that was going on I am quite pleased with them :)


I have another workshop which has been moved to this Tuesday, which is Christmas gift...Woo!Hoo! So I will be back next week with some more workshop news.

Happy Crafting


Tuesday, 15 November 2011

How to mount Stampin' Up Clear stamps [video]

Hi crafters,

Just a quick little post today, as I have just received my very first Stampin' Up stamp set and found this great little video on YouTube on how to mount them.


Happy Craftying x


Saturday, 5 November 2011

In to the world of Stampin' Up...

Hi Crafty friends,

Recently, I have discovered the world of Stampin Up. I know about them for a good while, but never found a demonstrator near where I live...that was until a couple of months ago, which believe or not was only 15 minutes away from me.

I found out that she was holding a new catalogue event. So I plucked up the courage (and dragged my mum along too), and I went. Even though it was a hard thing for me to do, I am so glad I did.

Shirley, the demonstrator was lovely, as was all the ladies. We were shown through a lovely demonstration on how to use Scalloped Envelope Big Shot Die to make a gorgeous box and also how to make the milk carton box, from the bigshot die. Which is very cute :)

Then came the opportunity to do a make and take.Well, I surprised myself as there was a chair free at the table, I stood up and took it. Me freely joining a group of 'strangers', that is just not me...but yes it was :)

I did slightly rush my make and take and I know I could do better and more with it, but I love my little milk carton. It's so cute :) And I just had to buy the die to make those butterfly :)


After enjoying my first foray into the Stampin' Up world, I decided, right...use this opportunity! As I said in my last post, I do suffer from Social Phobia, which I am working hard at the moment to over come. So why not use this as a challenge to mix with other people, with the benefit of doing something I really enjoy?

With this in mind, and finding out that Shirley was preparing some workshops in the run up to Christmas, I took a deep breath and said to myself, "right, I am doing this"...eek!

This week I attends a free open house event (and again dragged my mum along...lol). We had a lovely demonstration of a card design, which I am going to have a go at making in the near future, and two make and takes...yes two! :)

As she said we all love the little milk card last time, she was going to show us something completely different with it...hmmmm interesting.

We were given the opportunity to decorate, before we assembled it, with the Stampin' Around Wheels. Which we used the Petite Petals wheel.


Here's the finished box, showing you that it can be closed in two different ways. I haven't completed decorating mine yet, so watch this space


The second make a take we made was a cute little tea bag wallet/envelope, using the scalloped evelope die and the 'Take A Sip' stamp around wheel


I am booked in for an Advent Calendar workshop tomorrow, which I am really looking forward to. So watch this space for my next Stampin' Up instalment :D

Happy Crafting