Showing posts with label Shernocky Crafts Design Team. Show all posts

Tuesday, 30 July 2013

Shernocky Crafts - Tags

Hiya Crafty froends,

As promised, here are the tags that I have made to go with my 'Turn The Page' project


Supplies used (available from Shernocky Crafts):

  • PaperArtsy Stamps - HPXTO1,  
  • PaperArtsy Fresco Finish Chalk Acrylic Paint - Baltic Blue,  
  •  Distress Ink - Vintage Photo, Tea Dye, Fired Brick, Tattered Rose and Victorian Velvet
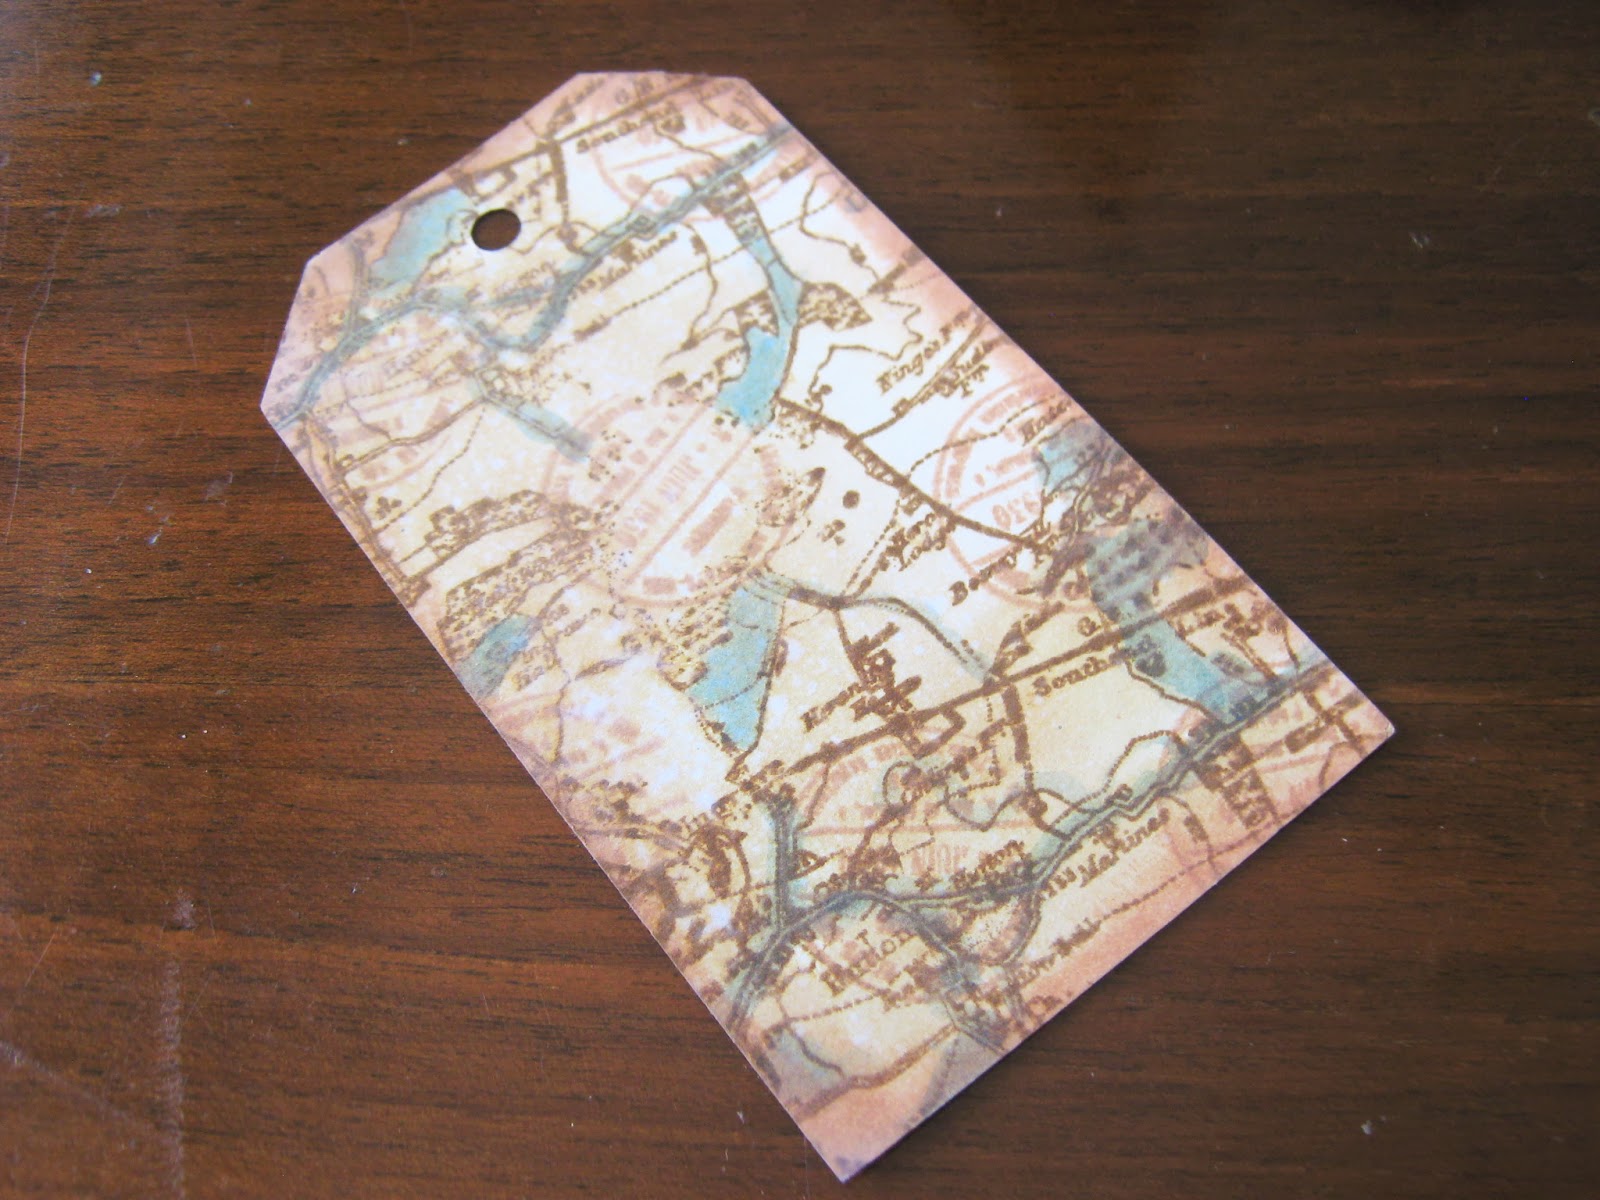
There are some great background stamps in this set. I particularly like this map and also the postage mark stamps, which stamp beautifully.

I added the blue elements by watering down the Fresco Finish Chalk Acrylic Paint (this is such a versatile paint)  and brushing onto the areas I wanted to highlight.


I used the fab cog and oriental text stamps on this tag. I after distressing I used the watered down paint wash all over to give a weathered look.


 Another great stamp in the clock face. I used pretty much the same technique on this tag as the one above, but instead of washing the whole tag I just just highlighted some of the lighter faces


Again, the same technicque was used on these last two tags, but this time at the end of the process I spritz the tag, quite heavily, to give a real bleaching effect.


All these tags now live in each of the pages of the book.


My mum now owns this book and is adding photographs to each of the tags...love that idea!!


Wednesday, 24 July 2013

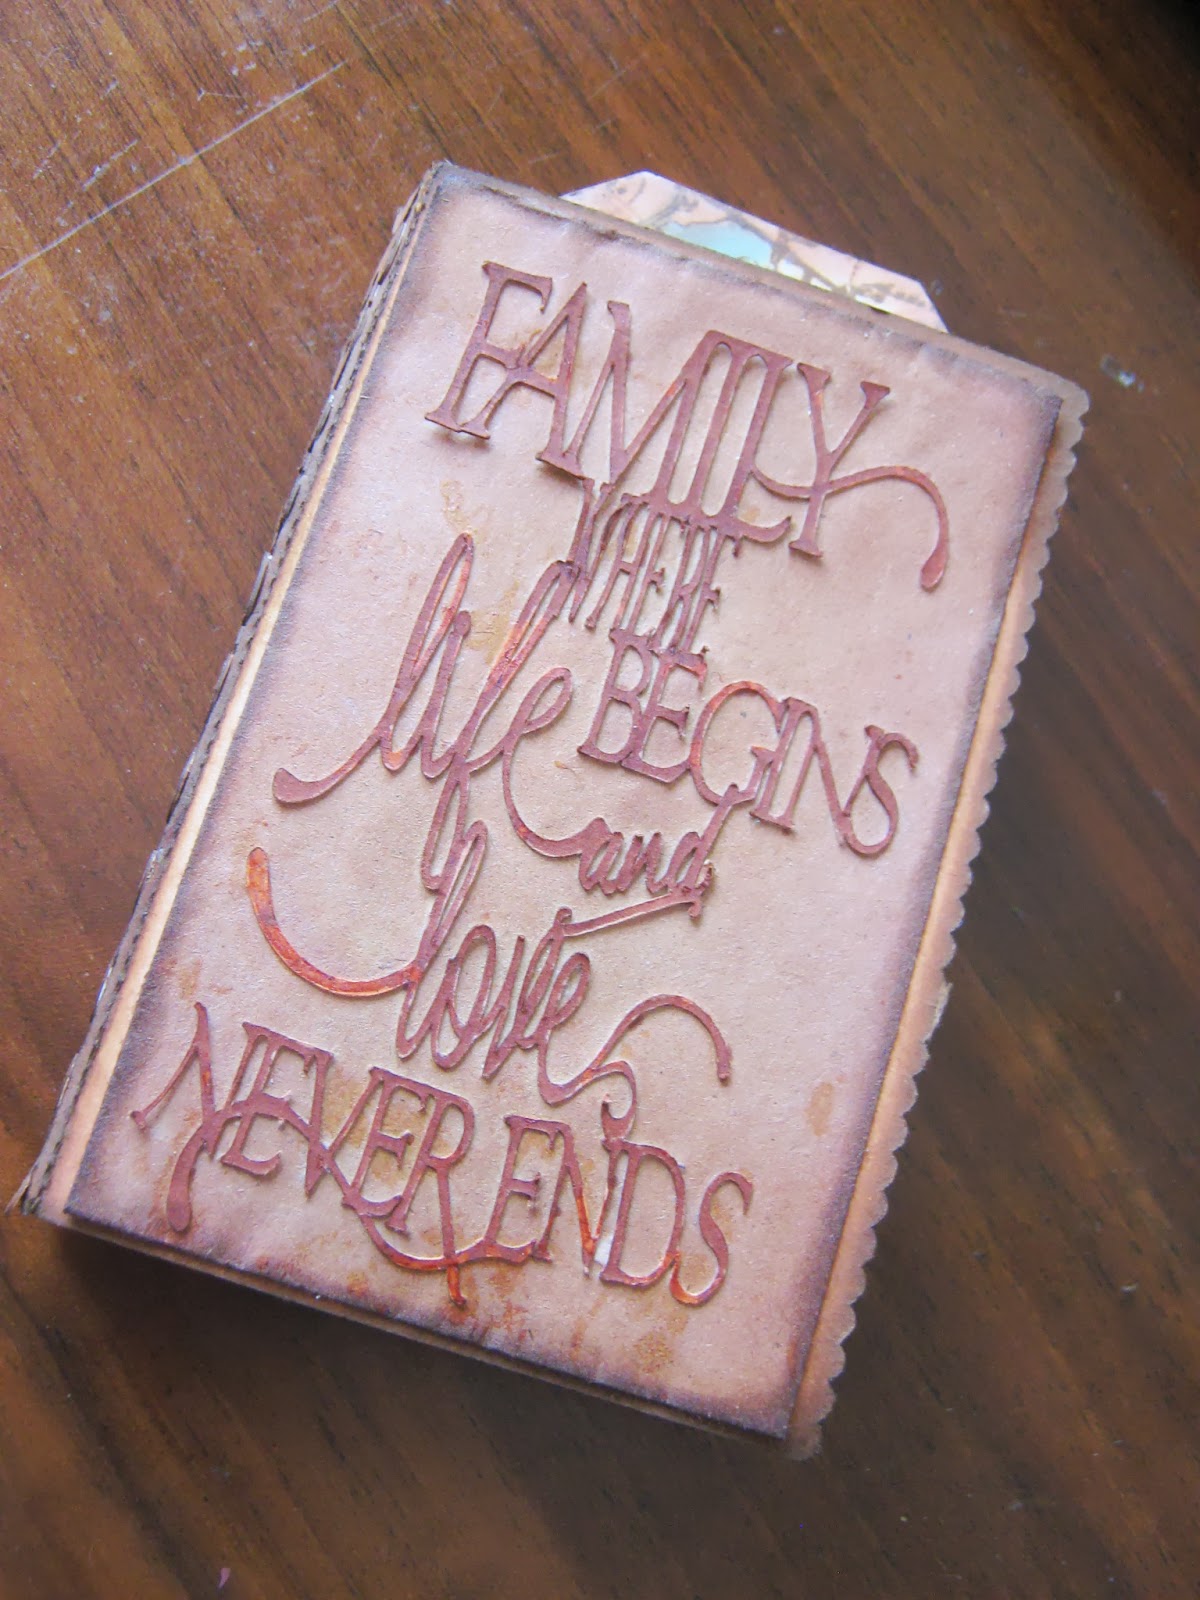
Shernocky Crafts - Turn the page

Hiya Crafty friends,


I wanted share with you my loooong delayed Shernocky Crafts DT project.

I had been mulling over what to do with my small manila envelopes I got in my DT pack for a while (changing my mind many times). When I finally decided to do a book, it then took on a life of it's own. The finished project ended up being completely different to what I had planned at the beginning. It was going to be white, but as you can see it didn't end up that way...lol :)

Supplies used (available from Shernocky Crafts):
  • PaperArtsy Stamps - HPXTO1,  
  • PaperArtsy Fresco Finish Chalk Acrylic Paint - Baltic Blue,  
  • Jute Ribbon, 
  • Small manila envelopes
  •  Distress Ink - Vintage Photo, Tea Dye, Fired Brick, Tattered Rose and Victorian Velvet


I love how the distress ink have made the envelope I used to cover the front look like old leather, and believe it or not it sort of has a feel of it too :)

    The sentiment on the front was cut with my Silhouette Cameo and then coloured with a walnut Promarker


    I embellished the spine with some 'left-overs' from the lattice I cut for the pages (see below)


    The page tabs where cut out from a silhouette file, which I them coloured with Fired Brick Distress ink
    .
    The front of the pages where decorated with the PaperArtsy stamp set using Tattered Rose and Victorian Velvet distress ink and the back of the pages were decorated with lattice work, which I coloured with Tea Dye Distress Ink.


    Pop by next week and I will share with you the tags I have made to go in each pocket :)


    Tuesday, 16 July 2013

    Shernocky Crafts - Stamped Album

    Hiya crafty friends,


    It's time again for my Shernocky Crafts project!!

    This weeks project is something a little different for me, as I enjoy a bit of experimenting and learning through it :)

    For today's project I have used, which are all available from the Shernocky Shop:
    •  PaperArtsy Fresco Finish Chalk Acrylic Paint - Baltic Blue
    •  PaperArtsy Stamps - HPXTO1
    •  PolyView Photo Display Book
    • Indigo Blu  - Ella Bella
    • Hobby House Pearl Brads
    • Hobby House Ribbon
    I have never stamped with paint before (well not since nursery school...lol) and as this paint says it pretty much can be used on anything, I thought I would give it a go on the display book.


    The paint stamped great! But unfortunately it is possible to scratch it off. Maybe I should have sanded the cover a bit to give it a anchor. But a lesson learned.


    So this design does not scratch off I am going to cover it with clear contact film, so I can retain the effect the paint has given.


    Thursday, 4 July 2013

    Getting messy with Shernocky Crafts


    Hiya crafty friends,

    I love being part of the Shernocky Design Team. There is a little buzz of excitement when my monthly pack arrives at the start of the month.

    I am playing a bit of catch up at the moment, as family commitments have restricted my crafting lately, but I am determing to show you all the fantastic products we were given to play with last month. They are all available from the Shernocky shop, and they were:


    PaperArtsy Stamps - HPXTO1, PaperArtsy Fresco Finish Chalk Acrylic Paint - Baltic Blue, Jute Ribbon, Small manila envelopes and a PolyView Photo Display Book


    The first project I have made is a collage card.

    I used distress ink (also available at Shernocky Crafts) to distress a piece of card using the Peeled Paint and Shabby Shutter colours.


    I then, with a sponge dauber, dabbed the Fresco Finish Chalk Acrylic Paint through the jute ribbon, which gave a grid effect and adding a postage mark using a stamp from the set.


    I stamped the  postage stamp image fro the stamp set twice and cut the head out of one of them and decoupaged it, to give some depth. Before I did this I gave it a wash of colour by watering down the Fresco Finish Chalk Acrylic Paint and applying with a brush.


    I added small pieces of the jute ribbon to add to the distress look and added some stamped cogs with 3D foam pads, to again add depth. And finally backed it with black card and wrapped twine around.


    I mounted the whole thing to a plain white card, as I quite like the juxtapose of them both being used on one project.


    Sunday, 26 May 2013

    Shernocky Sunday - Shernocky Craft Monthly Tutorial - Oriental upcycled tin

    Hiya crafty friends,

    Welcome to this months Shernocky Crafts tutorial!

    I tried my hand at a bit of upcycling for this tutorial, which includes, believe it or not, an empty pineapple tin. I had had a bit of a crafters block (we have all been there haven't we), so my mum gave me the tin me for a bit of a challenge, and this is what I came up with...thanks mum :)

    Supplies (all available from Shernocky Crafts store)
    • Graphic 45 8x8 Birdsong collection - Joy Luck
    • Flitter Glu starter kit
    • Crafters Companion tape runner
    • Hobby House ribbon 
    • Cork coaster
    • Tin (I used a pineapple tin)
    • Terracotta pot dish (from my local garden centre)
    Tools:
    • Hot glue gun
    • Craft Knife
    • Paper trimmer
    • Scallop circle punch
    1. Measure the depth of the tin from bevel to bevel and make a note of it.

    2. Cut two lengths of the patterned paper the same width of the tin. In my case it was 4.4cm


    3. Apply the Crafters Companion adhesive tape to the back of on of the strips


    4. Stick to the outside of the tin and wrap around, making sure it stays between the bevels

    5. The 8x8 paper didn't fit all around my tin...

    ...so using the second I cut a length that would cover the gap that was left


    6. Now onto the lid...I used my Flitter Glu starter kit that I got as part of a workshop that I did at the Shernocky Crafts shop, which included the Winter Dawn Gilding Flakes...

    ..firstly, I did apply the Flitter Glu glue to the edge of the coaster but I found that it was adsorbing into the cork. So I applied some of the Crafters Companion tape adhesive to the edge, then applied some of the silver gilding flakes..it worked really well.

    I then rubbed off the excess 


    7. Take the terracotta dish and ribbon...

    ...and apply adhesive to the outer rim...

    ...then wrap and stick the ribbon to the adhesive.


    6. Taking your gilded coaster, cut a slit in the centre the width of the ribbon

    7. Thread a folded length of the ribbon through the slit, being careful not to break the cork as you pull.

    8. Fold out the ribbon and adhere to the back of the coaster.

    9. Apply some hot glue to the rim of the terracotta dish and adhere the cork coaster to it.


    10. Punch a scallop circle and cut a slit in the centre, the width of the ribbon.

    11. Apply adhesive to the back of the circle and thread the ribbon through the slit.