Showing posts with label Christmas. Show all posts

Saturday, 10 September 2016

How to make a Christmas Tealight

Hiya crafty friends,

Well, I am a bit behind with my Christmas crafting, but operation Christmas has now begun in earnest.

So, hopefully, in the next few weeks I'll be sharing my festive makes.

Late last year I got some great buys in the post Christmas sales and I've been dying to use them.

One of which was these packs of two mercury glass tealight holders, at the bargain price of...50p!!!! :-) I was planning from the beginning to make them festive, and as they were such a good price, I challenged myself to make the whole thing on a budget.


I love the look of these holders and got them in dusky pink, silver and red. I'll use the dusky pink for this tutorial.


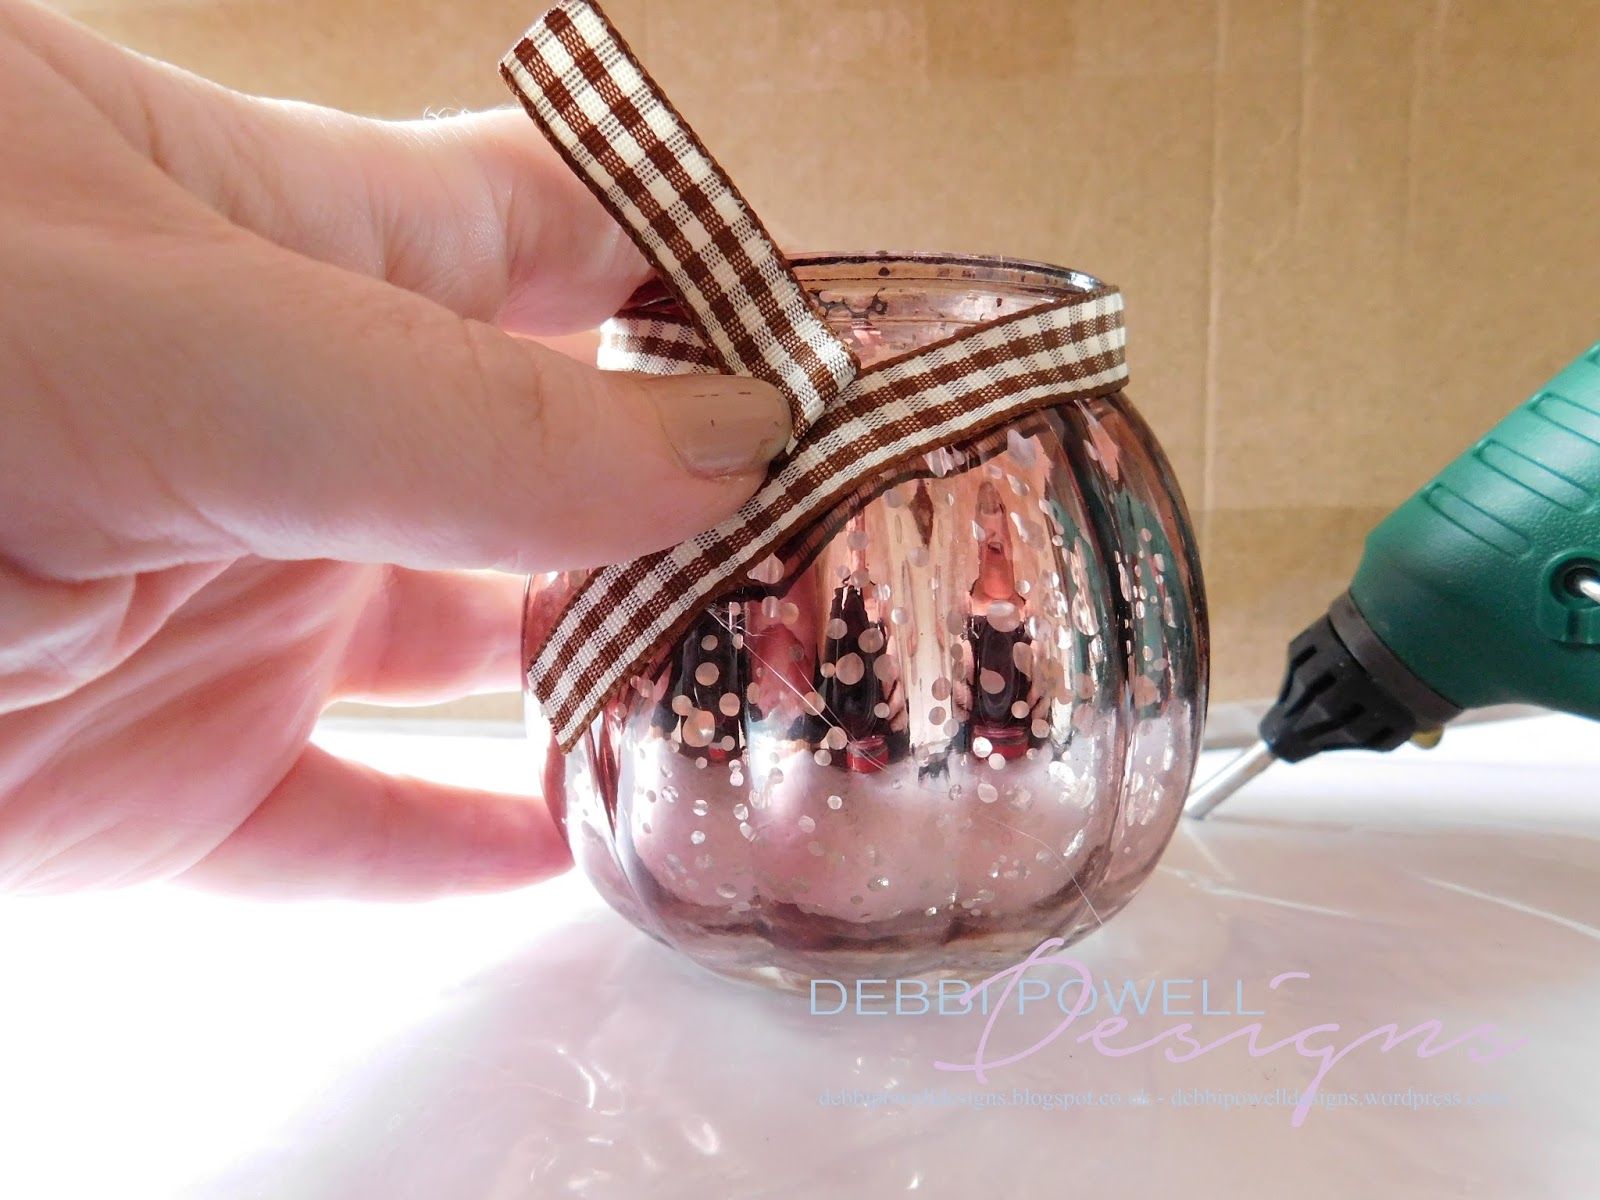
I took some brown gingham ribbon (Bargain #2: which I got for £1 for 10m!!) and wrapped around to get the length I wanted.


To secure the ribbon I applied a dot of hot glue at the back and also where the ribbon crossed at the front.



I added some natural coloured twine, which is bargain #3. I got a very large amount for, I think it was, £1.99


After I trimmed the twine to length I gave it a little 'haircut', as it was a little bit hairy :) and this just neatened it up


To make them more festive I added some berry stamens, which I got from ebay (bargain #4) and I got 12 bouquets in total .  Each bouquets contains approx. 12 branches, so there was approx 144 branches in total for only £4.00. That's 3p a branch!!! And I've already used them on another project, which I will share soon. The fir I used was from a little 2ft Christmas tree that was in my loft and had never been used, so I took it apart.


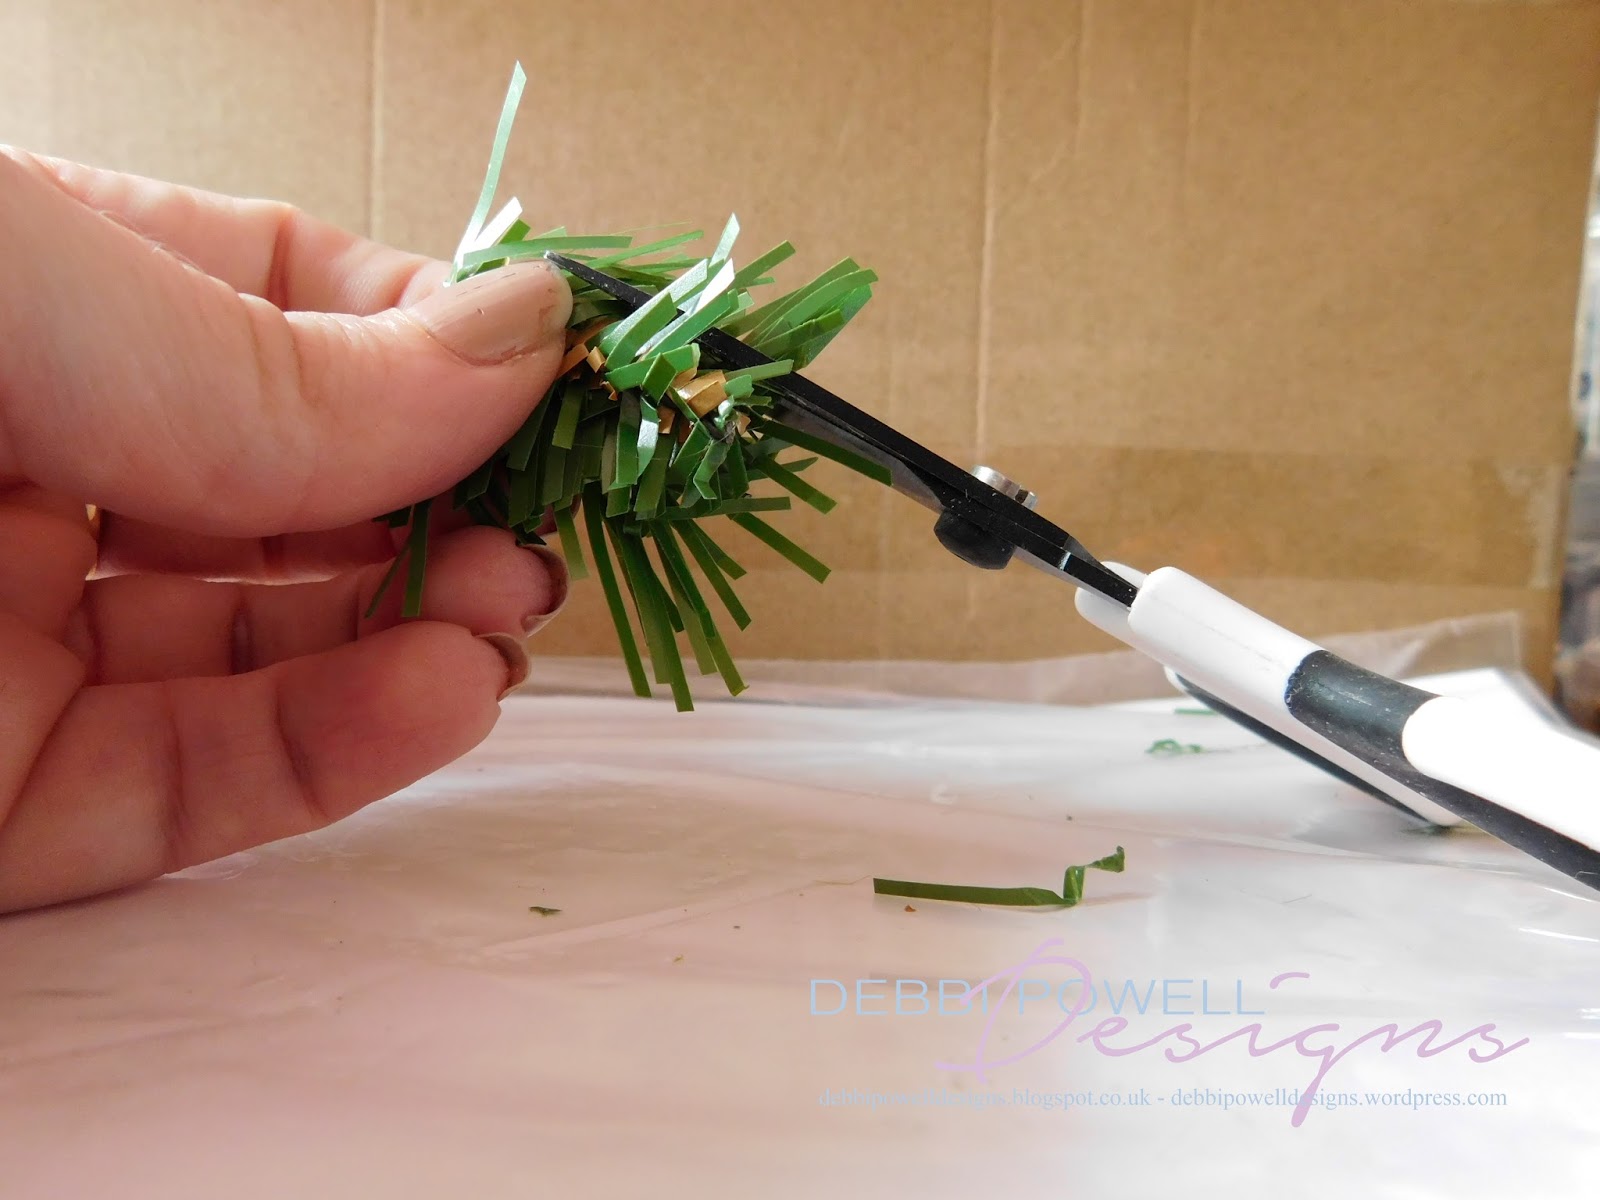
I cut a short length off the end of a branch with some wire cutters and then cut a second, very slightly longer, from the same branch. As the top of this one was flat, I trimmed it to a point to match the other and make it look more natural


Using hot glue I added them to the top of the ribbon


I took one branch of the berries and snipped away the wire stem...


...and added to the centre of the firs.


I took apart another branch of berries, so I now had individual stamens...


...which I added amongst the greenery.


So here with have the finished item, and breaking all the supplies down to individual prices the grand total of the finished item was...you wont believe it...36p!!!!!


Right, you've guessed, I'm now in the Christmas crafting mood and off to plan some more festive fun.

Thanks for dropping by and hope to see you soon

Happy crafting

Debbi

Tuesday, 17 December 2013

Ho! Ho! Ho! Merry Christmas

Hiya crafty friends,

The man in the red suit will be visiting soon and everyone at Polkadoodles are getting very excited, which you can see by this weeks Digi Choosday Challenge...Ho! Ho! Ho!. Plus remember, as always, there is a fantastic offer that goes along with the challenge. What is there not to love about that? :)

So in honour of the jolly man I have made a Santa gift bag and matching card. The Christmas Joy download bundle (I love this bundle!) was just perfect for this project


Santa suit and the letters where made using background papers and the gorgeous border is also included in the bundle.


The great thing about downloading backing papers is that you can resize to suit what you need. Which is what I did to make these holly leaves.


Ho! Ho! Hope to see you next Choosday


Wednesday, 11 December 2013

Christmas with Clare Curd Crafts

Hiya craft friends,

Today is a quick tutorial on how I made this folded scallop card, using the gorgeous My Minds Eye Vintage Christmas 6x6 paper pad, also the coordinating 12x12 sticker sheet and red satin ribbon. All from Clare Curd Crafts


The slideshow below will show you step-by-step how I made the card


Wednesday, 4 December 2013

Christmas bauble

Hi crafty friends,


 This is the first time I have made one of these and I really thought it would suit my Clare Curd Crafts design team goodies.

It may not look it, but these baubles are quite simply to make, a little time consuming but easy. And you can make them as modern or as traditional as you like, depending on the paper you use.

1. 
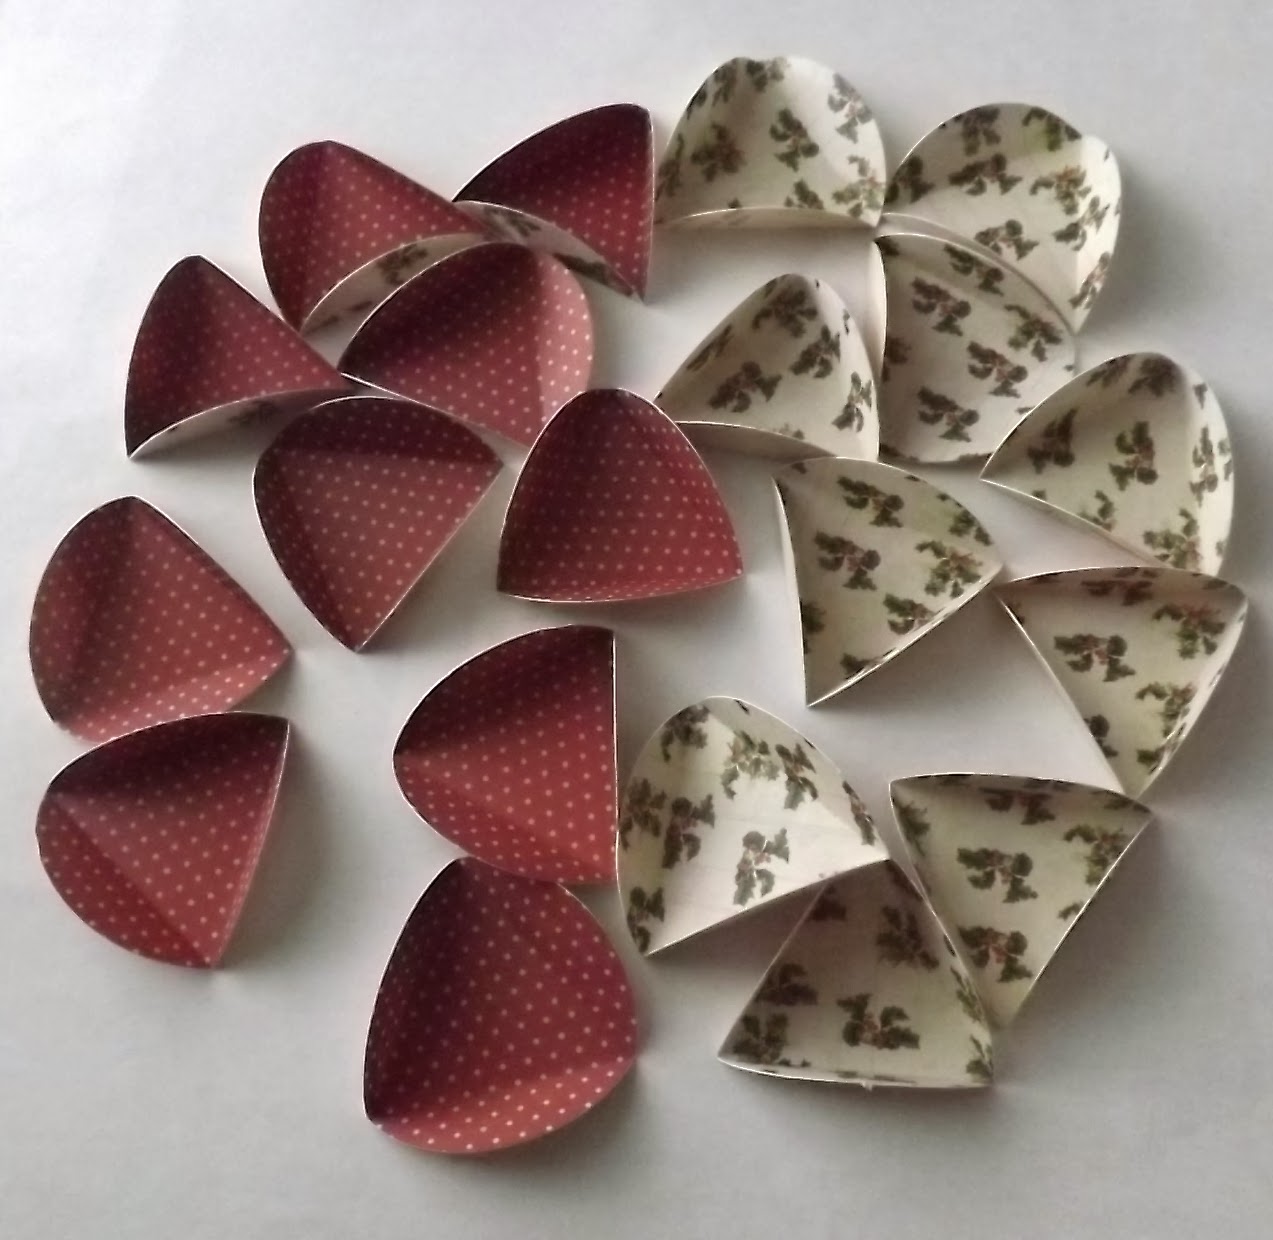
To make life easier, I used my Silhouette Cameo to cut out 20 large circles with a perforated triangle in the centre, (10 each of two paper designs) and 20 smaller (10 each of two paper designs). I have since found out that if you don't want any of the same patterned papers to be next to each other you have to use at least three colours and with 6, 6, and 8 circles of each color (wish I had found that out earlier to show you all, but you'll get the idea).


2.
Take the two sets of larger circles and fold them all into triangles

3.
Glue five of the triangles together and then glue the remaining two flaps together to form the top of the bauble


4.
Cut a length of to 6mm Red satin ribbon, fold it in half then tie a knot to form a loop.

5.
Thread the loop through the centre of the bauble top you have just made. I used the point of my scissors to poke it through


6.
Repeat the process again (without the ribbon), to form the base on the bauble).

7.
With the remaining ten glue as shown

8.
Then glue the top and bottom to the middle row of the bauble to the as shown

9. 
Now glue the top flaps of the middle row to the flaps on the 'top'

10.
Now do the same with the bottom

11.
You now have your bauble base

12.
Now take all the smaller circles and fold into triangles (I added five red red circles, which are not shown in this photo)

13. Glue these to the centre of the triangle of the bauble


14.
Using 10mm red satin ribbon, I tied a large bow around the loop

I really enjoyed making this and really want to experiment more with this kind of thing, so maybe 'Watch this space' :)

See you next Wednesday