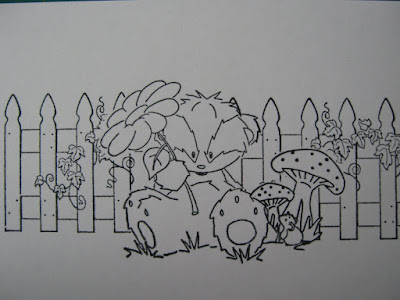
Masking-
Building
a picture/scene with separate stamps
Masking was always something I shied away from, because I thought it was too complicated. But when I decided to give it go, I soon discovered just how easy it really was, so decided to share with my crafty friends this great technique.
Always
start by stamping the image that is at the front of your planned picture. In
this case it will be the mouse. Also stamp the mouse on a post-it note too, close to the ‘sticky’ end. And then cut the mouse out of the post-it note. Once your mouse is cut from the post-it note, place it over the stamped image of the mouse on your card
Stamp
the image that would be directly behind the mouse. Once again stamp this image
on a post-it note and cut out and then place over the image you have just
stamped on your card.
Repeat this process, working
backwards until you have stamped all the elements you want on your image
Once
you have stamped all of you elements, you can then start to remove the post-it
notes
Always save your masks and store with the stamps themselves as they can be re-used.
And here is another example,
using the exact same process:


No comments:
Post a Comment
Thank you for taking the time to comment. It is very much appreciated xx